Raspberry Pi VNC Free Access: Setup & Troubleshooting Guide - [2024]
Is it truly possible to remotely access and control your Raspberry Pi for free? The answer, surprisingly, is a resounding yes, offering a powerful solution for various projects and applications. However, the journey to achieve this requires understanding the nuances of Virtual Network Computing (VNC) and its implementation on the Raspberry Pi.
Navigating the world of remote access can often feel like searching for a hidden treasure. The search queries often lead down dead ends, with phrases like "Find raspberry pi vnc port free" and "Check spelling or type a new query" highlighting the common frustrations. The good news is, the solution is within reach, and it doesn't require breaking the bank.
One of the most popular methods involves utilizing VNC, a system that allows you to view and control a computer (in this case, your Raspberry Pi) from another device. RealVNC is a prominent player in this field, and, crucially, offers a free version tailored for the Raspberry Pi: RealVNC Connect (Home Edition). This provides a straightforward path to remote access.
Setting up VNC on your Raspberry Pi involves a few key steps. Firstly, you will need to install a VNC server on your Raspberry Pi. This server will handle the connection and transmit the desktop display to your client device. Then, configure the VNC server to start automatically when your Raspberry Pi boots up. This is crucial, as it ensures that you can remotely access your Pi without needing physical interaction each time.
Before diving into the technical details, its worth noting the potential for broader applications. Remote access unlocks a new dimension of convenience, whether you are working on a project across the room, or from across the globe. The ability to remotely control your Pi's desktop allows you to manage files, run scripts, and even troubleshoot issues without needing to physically interact with the device. However, remember security is paramount. Ensure your Pi is protected with strong passwords and that you understand the implications of opening ports on your network.
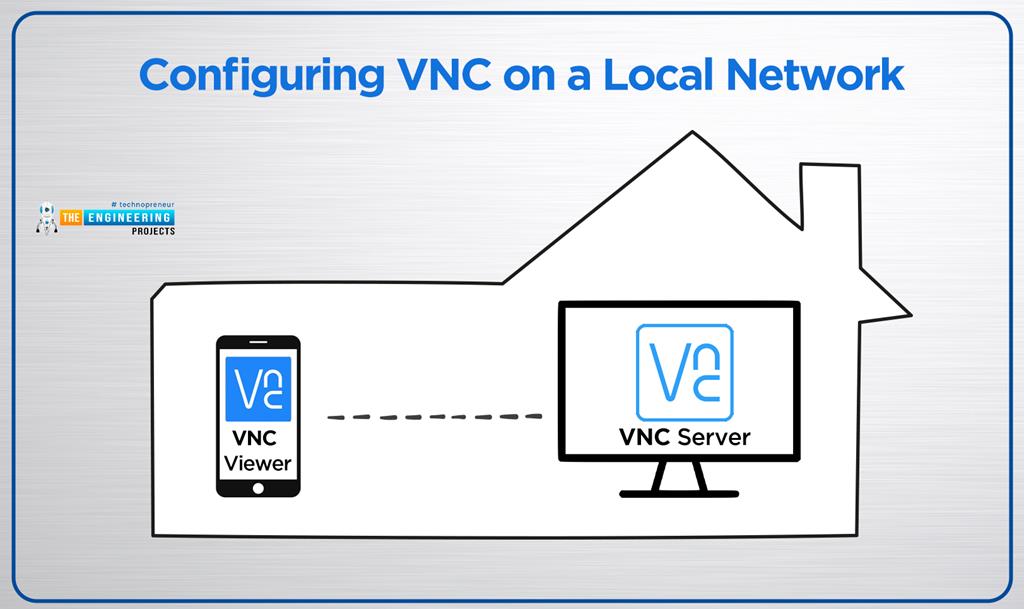
The foundation of a remote connection rests upon the IP address of your Raspberry Pi. Find it from the terminal window on your raspberry pi by typing "ifconfig". This address is the key to establishing communication between your client device (like a laptop or another computer) and the Raspberry Pi. From your client device, you use a VNC viewer and enter the IP address of your Raspberry Pi to initiate the connection.
To copy a file named myfile.txt from your personal computer to a users home folder on your raspberry pi, you would run the following command from the directory containing myfile.txt, replacing the placeholder with the username you use to log in to your raspberry pi and the placeholder with your raspberry pis IP address:
The command you would use for transferring files uses the secure copy protocol.
scp myfile.txt @:/home// For those seeking alternatives, several other options are available. While RealVNC is a popular choice, alternative VNC server implementations exist. Also other technologies such as SSH can be used for secure remote access, although their functionality may be different from VNC. The choice of which method to use will depend on your specific needs and technical comfort level.
The overall process of configuring the Raspberry Pi for VNC is relatively straightforward. It involves installing the Raspberry Pi operating system, updating package repositories and installed packages, and setting up the VNC server. Following the instructions carefully ensures that you can quickly establish a remote connection and begin controlling your Pi. The key is the right preparation, and understanding of your equipment.
Here's a breakdown of the essential steps to get up and running.
- Install the Raspberry Pi Operating System: This is the fundamental step, selecting an operating system (like Raspberry Pi OS, formerly Raspbian) tailored for the Raspberry Pi hardware.
- Update Package Repositories and Installed Packages: Staying current with the latest software updates is always essential. It ensures that your Pi has the most recent software versions.
- Install a VNC Server: The cornerstone of remote access. This will allow you to stream your Pi's desktop to another device.
- Configure the VNC Server: Customize the settings to suit your needs, configuring security measures for protection
- Set up the VNC server to start automatically.
- Start the VNC Viewer: Enter the IP address to establish communication with your Raspberry Pi.
For security-conscious users, the point to note is that cloud connections, are intentionally limited to 128-bit encryption, which is weak by today's standards, unless you buy a subscription. This makes it crucial to consider security when setting up VNC, and perhaps even choosing between a cloud-based solution and direct connections, or consider other alternatives.
However, its not as simple as just installing and connecting. To copy files from your personal computer to the Raspberry Pi, you will need to replace the placeholders with the username and the Raspberry Pis IP address to ensure the transfer works correctly.
For a VNC setup to function correctly, you will also need to be aware of network configurations, and this is particularly important for those wishing to access their Raspberry Pi remotely from outside their local network. This typically involves port forwarding, where you create a rule on your router to direct incoming traffic on a specific port (typically the VNC port, which has a default value) to your Raspberry Pi's local IP address. Most routers require you to enter both the external and internal port numbers.
In this case, it is recommended to make sure that only the necessary ports are open. This is an essential security task, so you can make sure that only the specific connections are made to your Raspberry Pi.
Understanding the Raspberry Pi, its software, and its configuration is crucial for successful remote access. Take the time to explore different aspects of its setup, security considerations, and troubleshooting techniques to ensure a seamless experience. The knowledge is power. You can finally start and enjoy the projects that you're setting up on your Raspberry Pi.
RealVNC Connect offers a free version of their VNC server for Raspberry Pi, known as RealVNC Connect (Home Edition). However, you must be aware of how the connection works. Strictly, it's only free if the VNC server is running on a raspberry pi and the VNC client/viewer is running on Windows, Mac or Linux (including Raspbian). If you want to run the VNC server on Windows, Mac, Linux (not raspbian) and the VNC client/viewer on raspbian you will need to pay for an enterprise license.
Also be aware of security implications. Ensure that your Raspberry Pi is protected with strong passwords. When setting up remote access, its essential to consider potential security risks and take the necessary precautions.
To create a new port forwarding rule, specify the raspberry pis local IP address and the VNC port (default: 5900). Some routers require you to enter both the external and internal port numbers. Remember to save the settings and restart your router if prompted.
The Raspberry Pi is a powerful tool. Master the basics, and you'll be able to bring your projects to life without being tethered to your desktop. The power of remote access awaits!
To summarise the steps:
- Install Raspberry Pi OS.
- Update your packages.
- Install VNC server (e.g., RealVNC Server).
- Configure server settings (security).
- Enable VNC server on startup.
- Find the Pi's IP address.
- Use a VNC viewer to connect.
For further insights, consider:
- Experimenting with different VNC server software.
- Implementing SSH for a secure terminal connection.
- Learning to set up and use VPNs for secure remote access.
- Exploring other remote access tools, such as those designed for headless systems


